


My Store
Saturn USBC Power Supply
Saturn USBC Power Supply
5.0 / 5.0
(18) 18 total reviews
Couldn't load pickup availability
***US customers – All import duties are included in the cost, there will be no additional fees to pay on delivery***
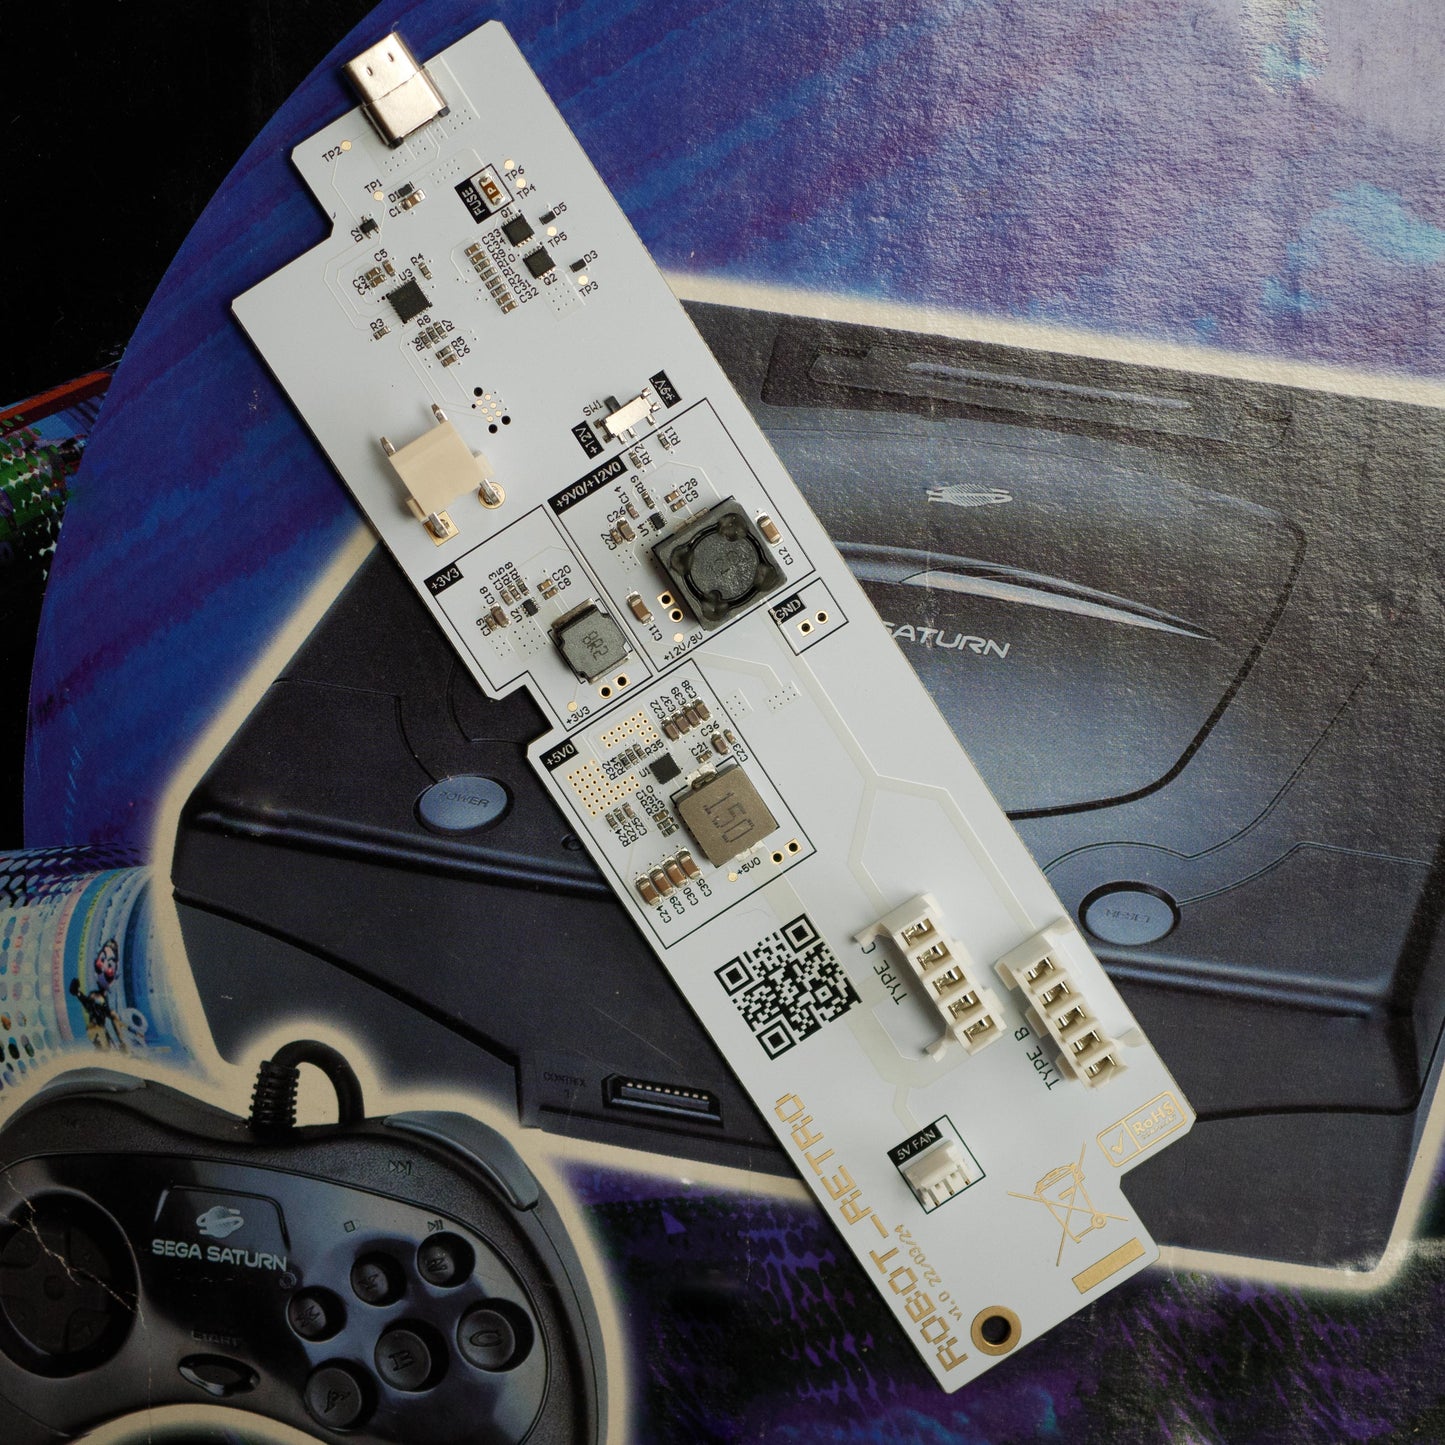
robot_retro Saturn Power Board – USB-C PSU Upgrade
Clean Power, Cool Operation, No Soldering Required
Modernize your Sega Saturn with a reliable, drop-in USB-C power supply. Say goodbye to noisy AC converters and region-related risks—this mod is designed for simplicity, efficiency, and compatibility with all Saturn models (except VA0).
Key Features
Drop-In USB-C Power Supply
- Installs in minutes—no soldering or wires required.
Powered by USB-C PD (15–20V)
- Works with most 30W+ USB-C PD chargers
- Recommended: uGreen Nexode Mini 30W or Nintendo Switch charger
Universal Model Support
- Compatible with all PAL and NTSC Saturn models, except VA0 (Type A PSU)
Quiet, Efficient Operation
- 90–95% efficiency
- Low heat output
- Minimal signal noise (no more "fuzzy" video)
Ideal for Clear Shell Builds
- No flashing LEDs—keeps your transparent console clean and distraction-free
Built-In Mod Support
- 5V fan header (e.g., for Noctua fans)
- Additional 2.54mm pin headers: 12V, 9V, 5V, 3.3V, GND for powering mods like Fenrir
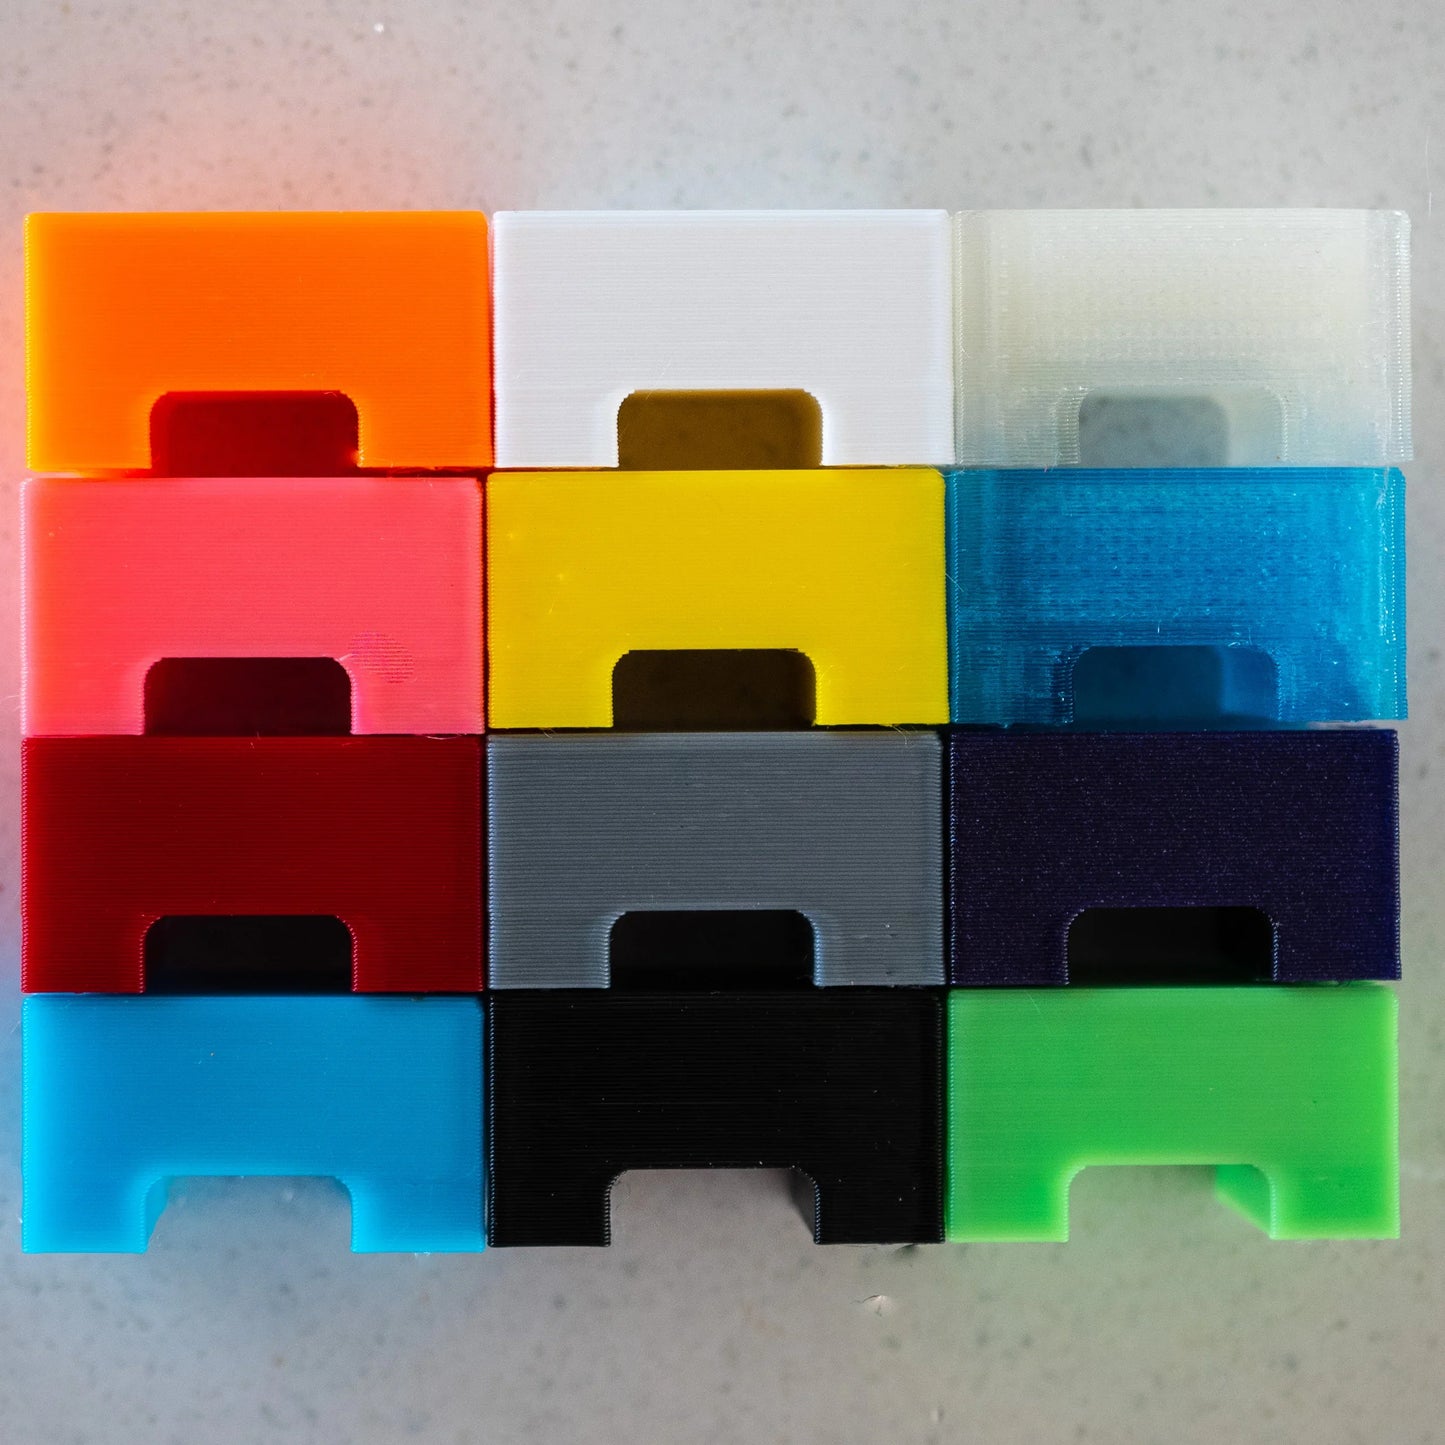
Multicolour 3D-Printed Spacer Included
- Provides a secure fit inside the Saturn chassis
- Optional: Print your own using the 3D files here
Why Replace the OEM PSU?
The original Saturn PSU is an aging AC-to-DC converter, prone to:
- Inefficiency and heat
- Noisy output affecting video quality
- Risk of damage from incorrect voltage input (e.g., plugging 240V into a Japanese 110V system)
Voltage Settings – Set with SW1 Switch
Refer to the label on the back of the board or follow this guide:
| Saturn Type | Region | Compatible? | Voltage Setting |
|---|---|---|---|
| Type A (VA0) | All | ❌ Not supported | N/A |
| Type B (VA1–VA5) | All | ✅ Supported | +9V |
| Type C (VA6+) | NTSC | ✅ Supported | +9V or +12V |
| Type C (VA6+) | PAL | ✅ Supported | Use original voltage, or default to +9V if unsure |
See here or here for information on how to determine your Saturns model number.
Install Guide
See here for tutorial and review.
I recommend a Phillips #2 screwdriver is used for the install.
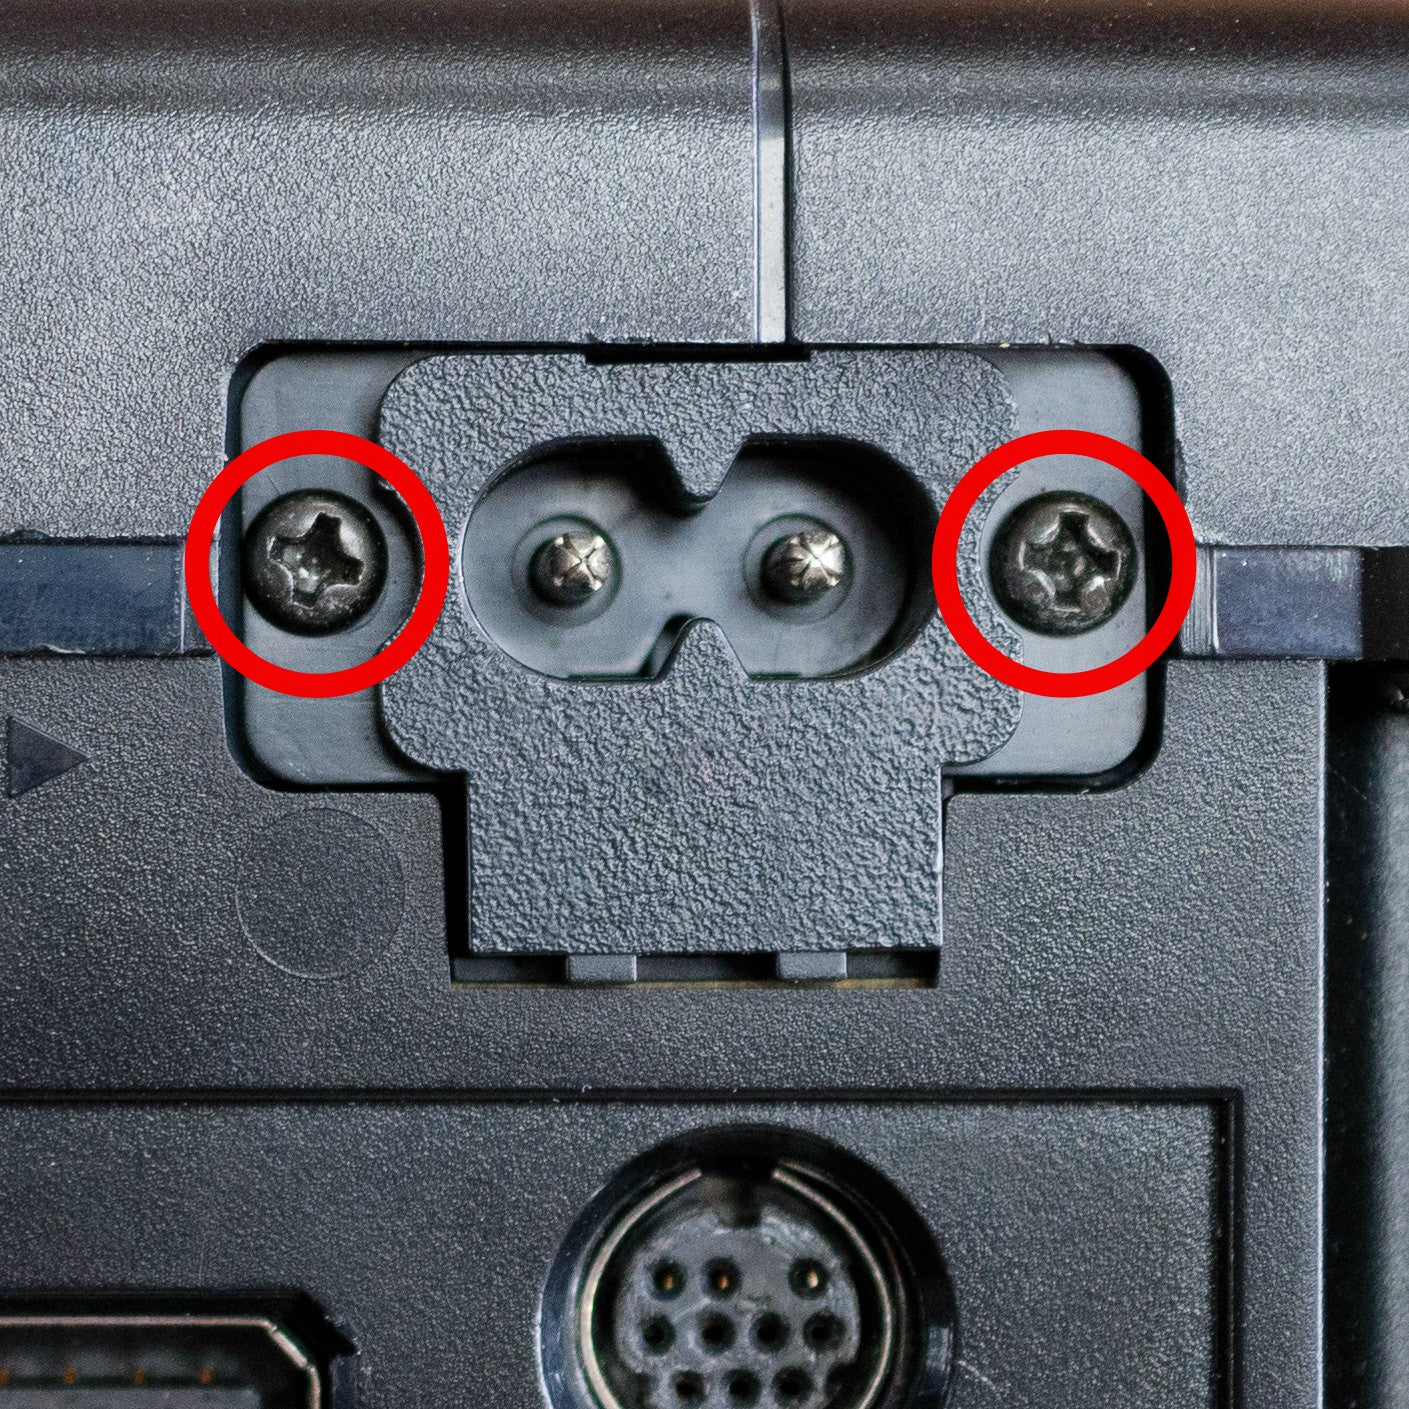
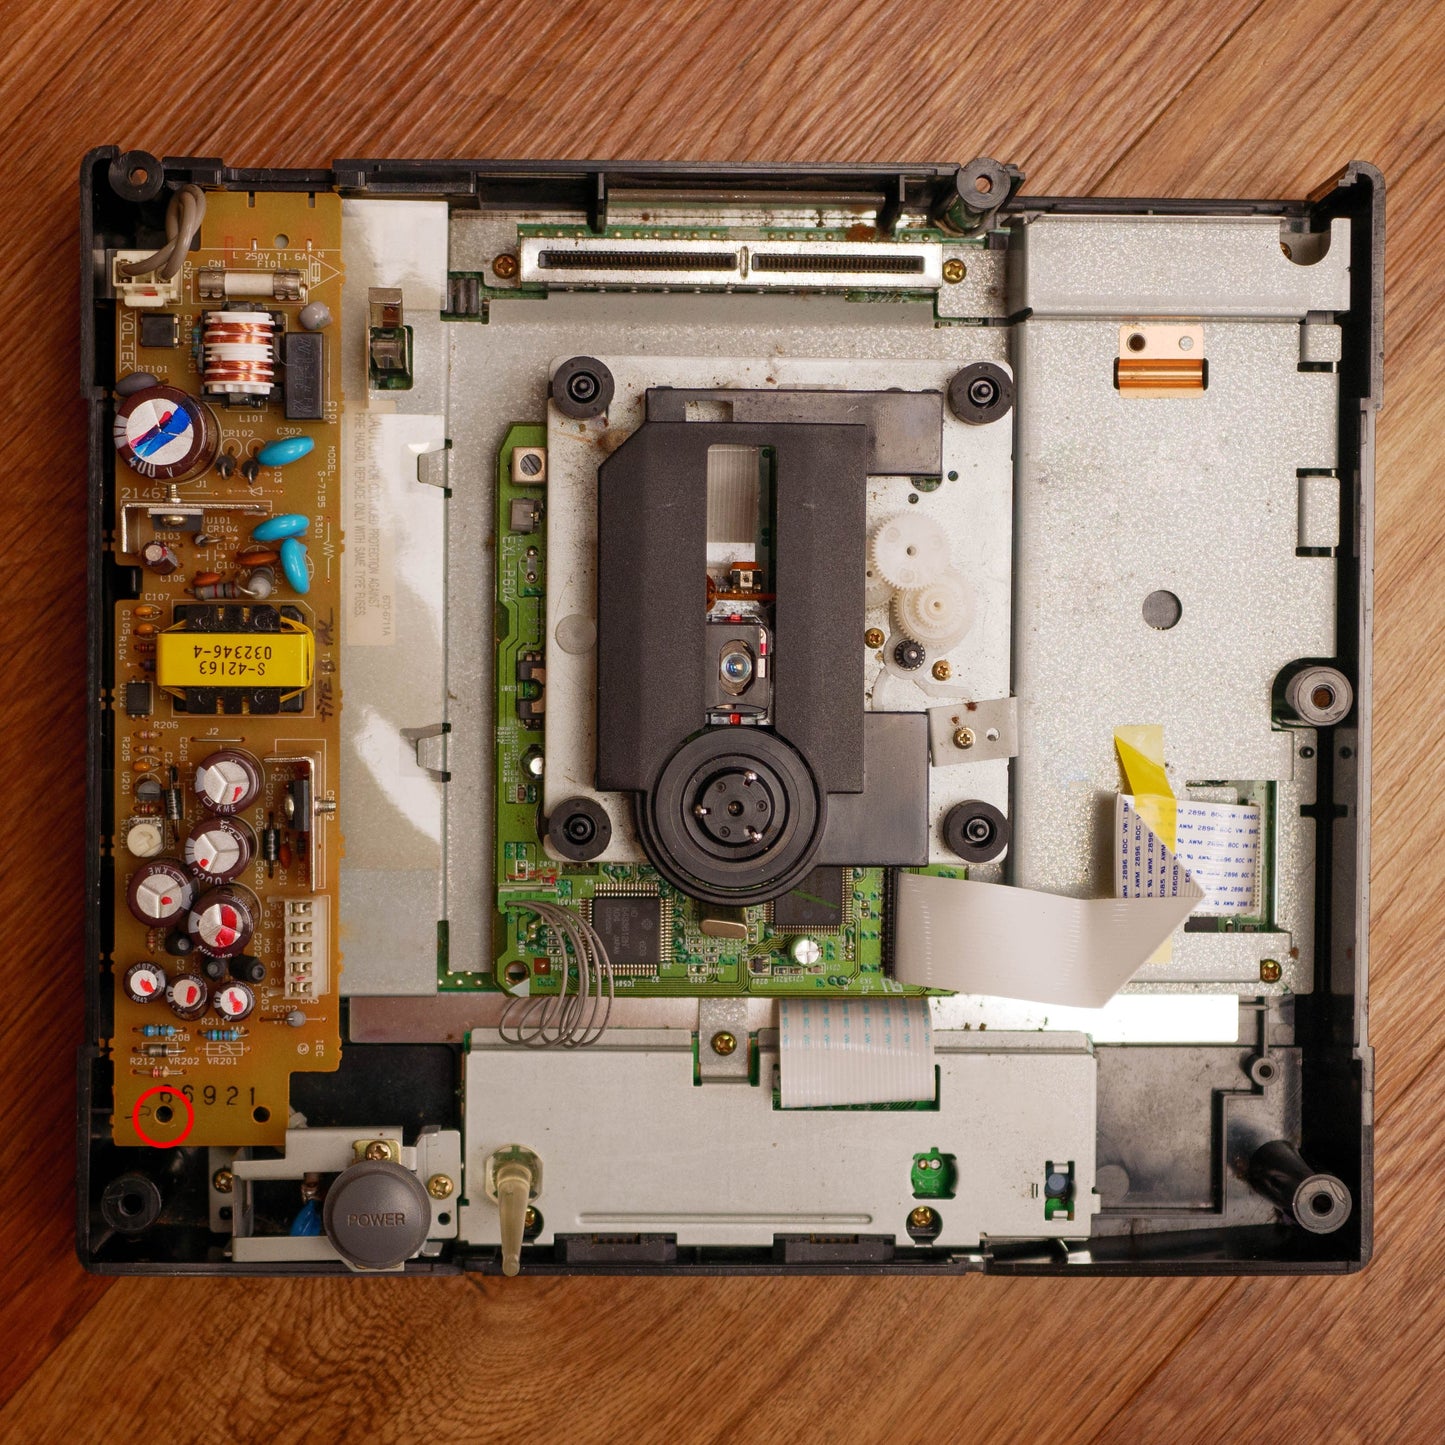
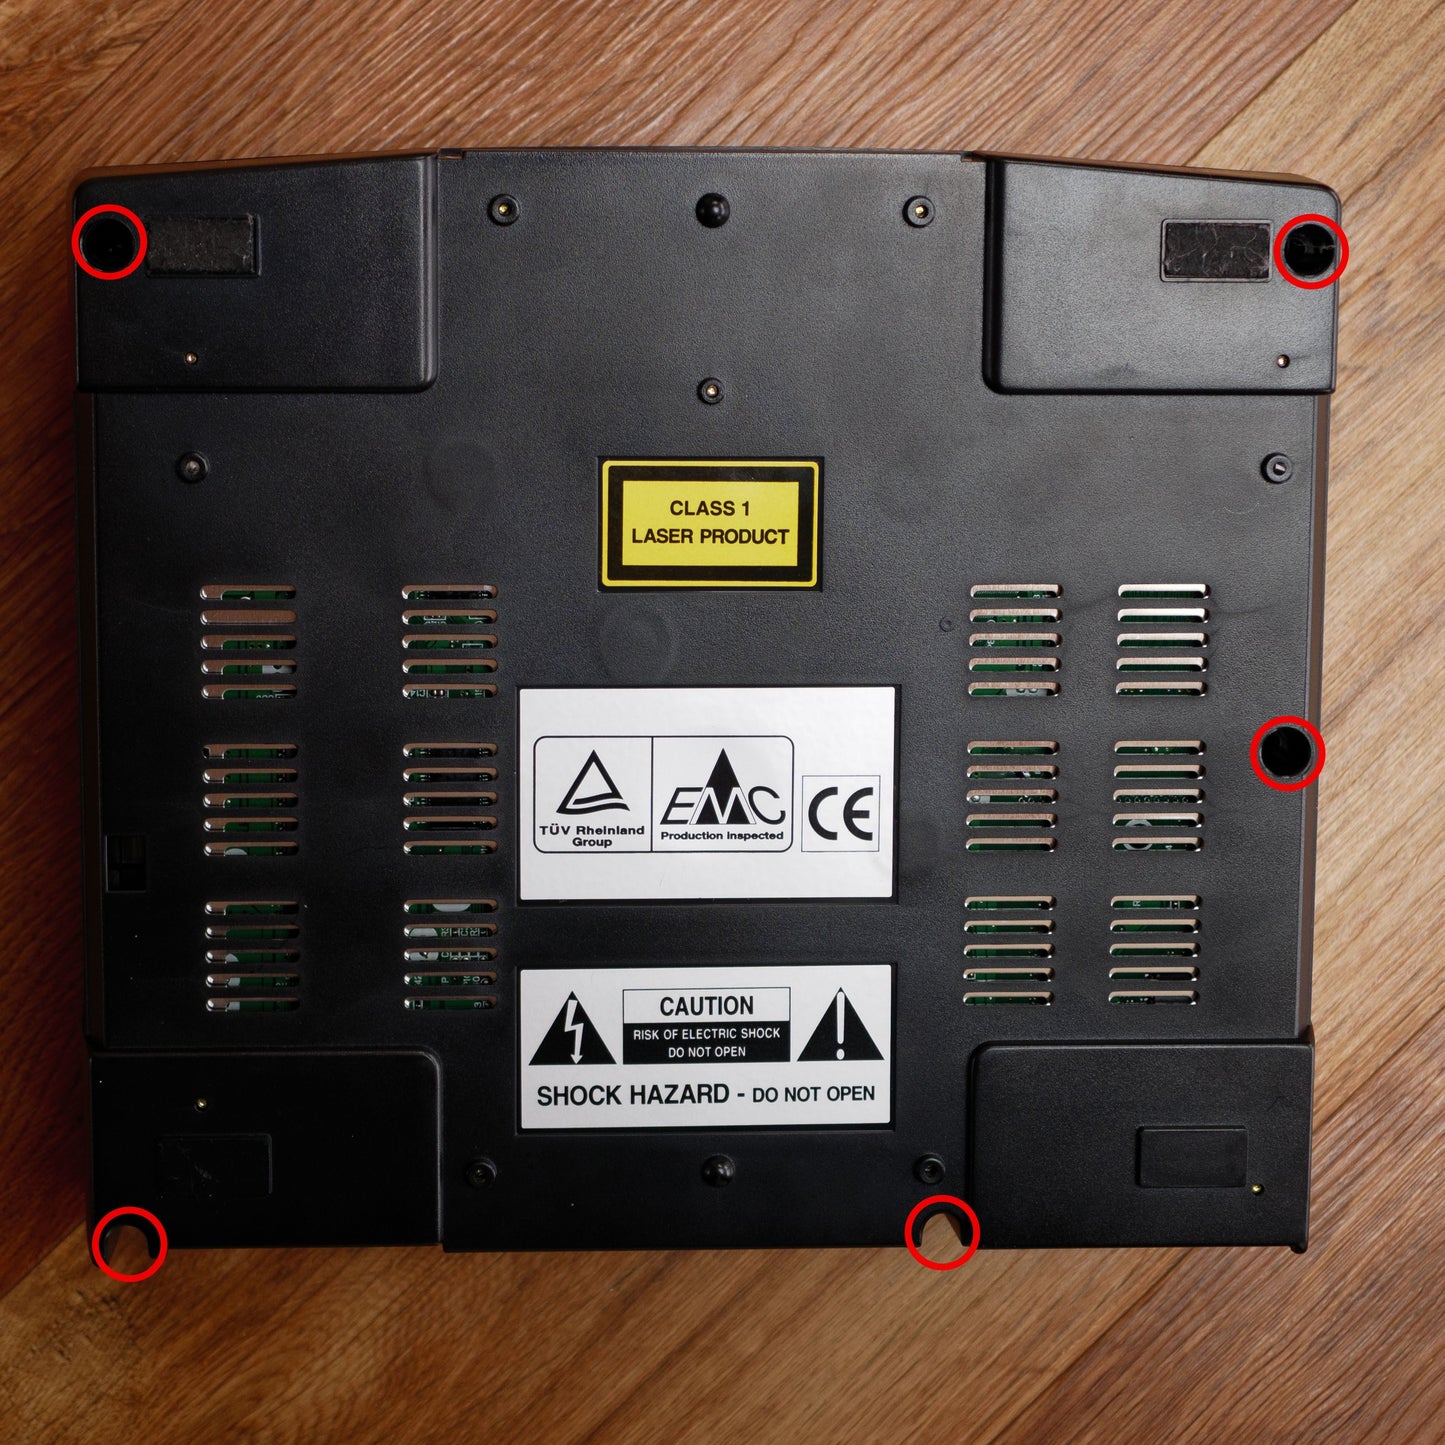
- Unscrew the two power supply and five bottom shell screws as shown in the photo.
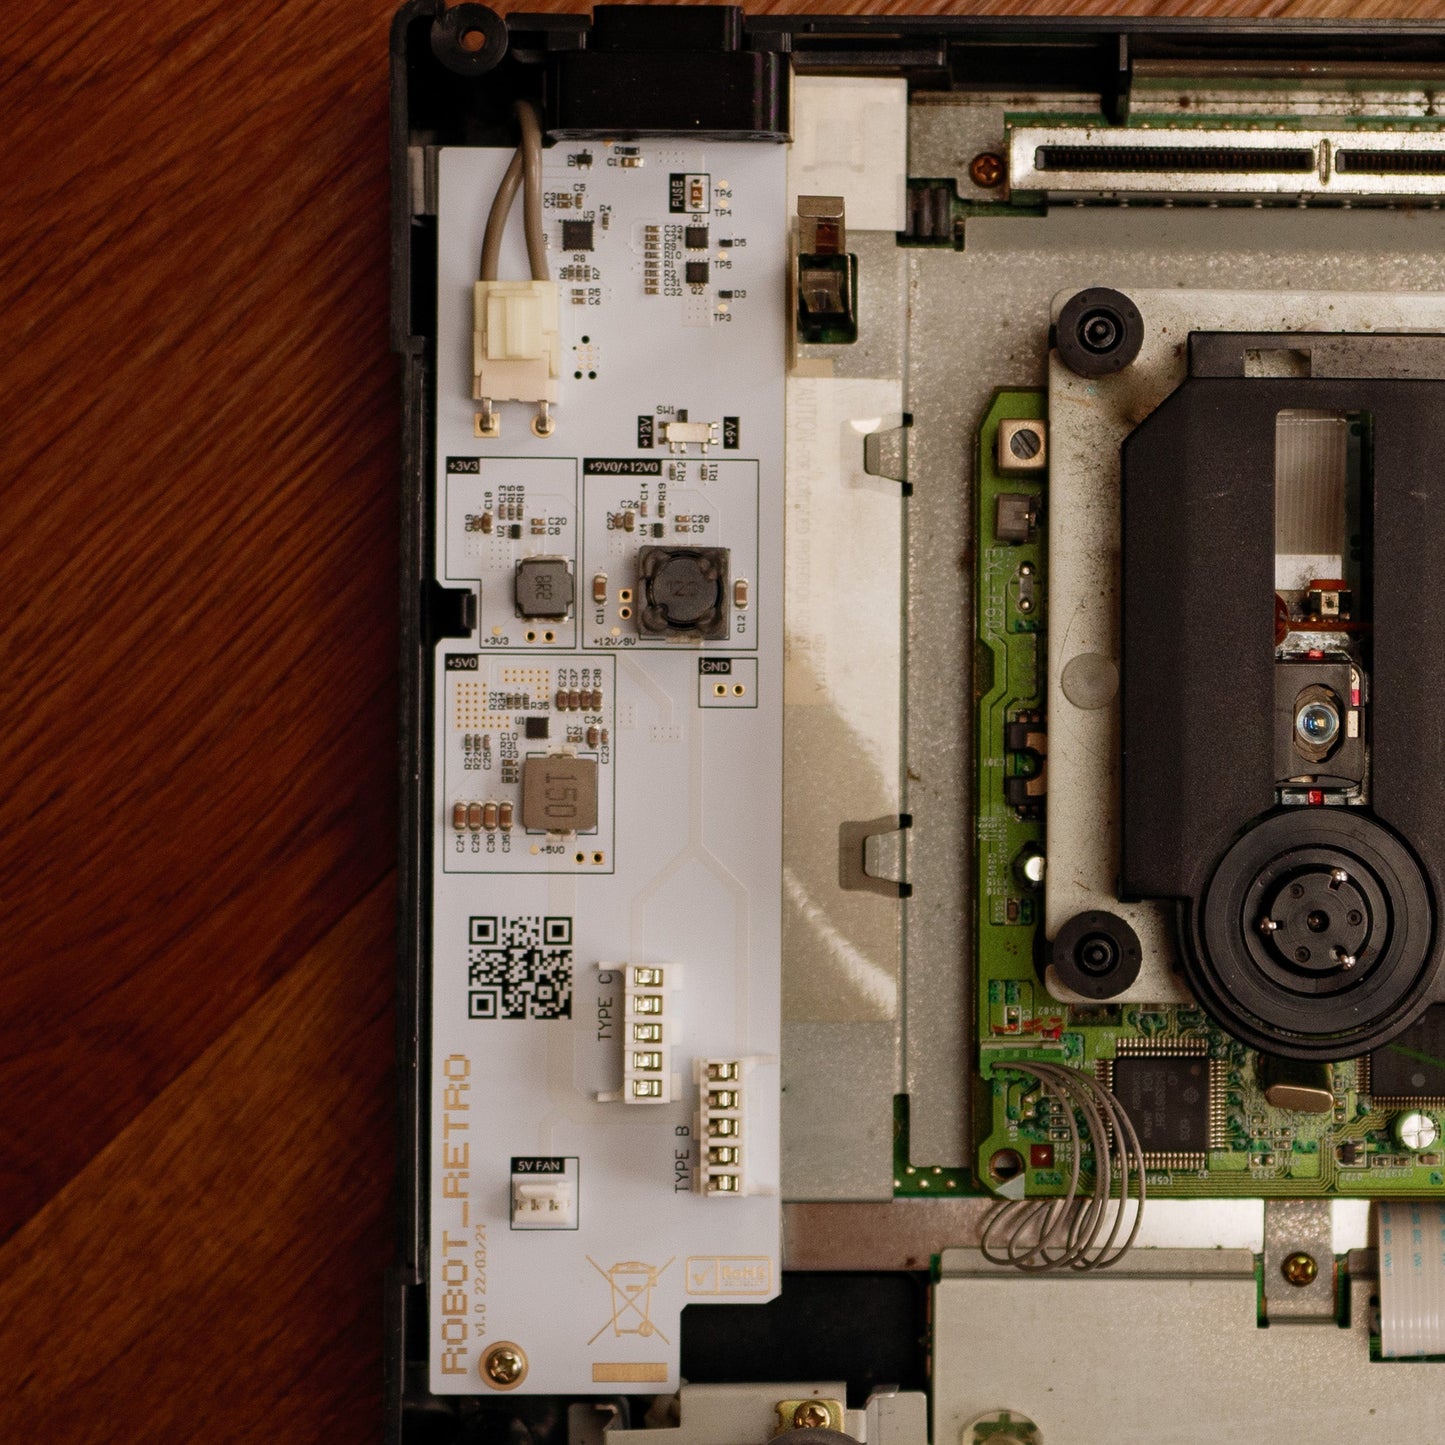
- Remove the top lid and then remove the single power board screw (see photos).
- Fit the robot_retro board in exactly the same way as the OEM power board was removed. Reattach the single original screw.
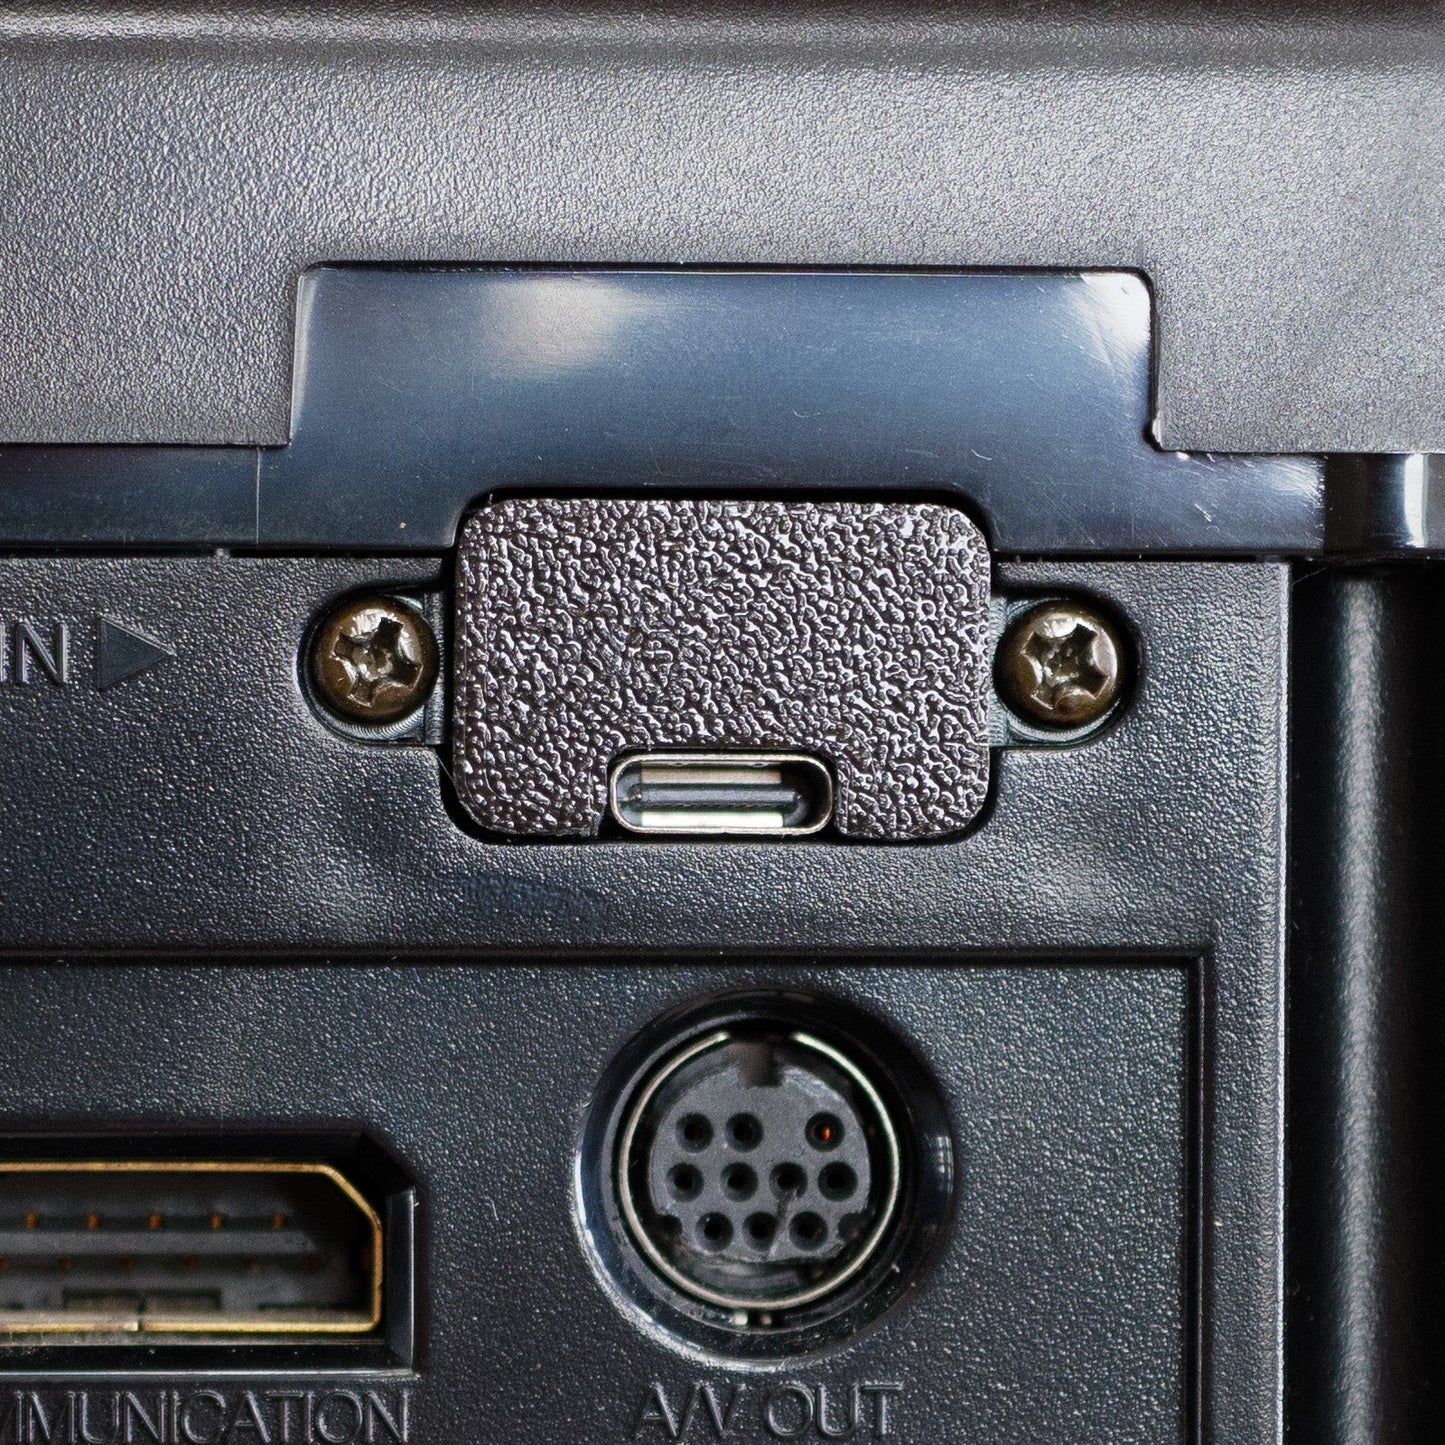
- Fit 3D printer USBC spacer and attach the two power supply screws. Note, this does require a gentle push to get the screws to tap into the 3D spacer. I recommend to fit the first screw around halfway, then start the second while pushing down on the 3D spacer (towards the PCB). Once both are tapped, drive them both home. Do not overtighten.
- Button up the console.
Share
Brilliant. Went into my VA5 JP console perfectly fine. Pulls super low wattage so can easily be played on the go with the right cables and a portable monitor
Great product worked a treat
Super fast shipping. Well packaged items.
Item was as described,very fast delivery, and it works very good with the Saturn, well worth the money, I have ordered a few times from here for the Saturn and Dreamcast as I’m a collector of retro consoles and this is the first place I always come
To for my supplies, excellent service as always.
*updated* with the updated spacer this thing is PERFECT! 10/10 I already gave it about a 9/10 before but he revised the spacer to fit absolutely perfectly and I wouldn't change a thing.
Don't even bother with the your 30+ year hot, electrically noisy power-hungry factory AC mains PSU, just get this and bring your Saturn into the 21st century. Trust me, you won't regret it!